Enable Client-Certificate Handling
Couchbase Server can be enabled to support certificate-based client authentication.
Enable Client-Certificate Handling with the UI
Proceed as follows:
-
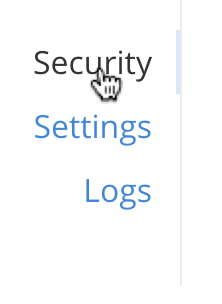
Access Couchbase Web Console, and left-click on the Security tab, in the vertical navigation-bar, at the left-hand side of the Dashboard:

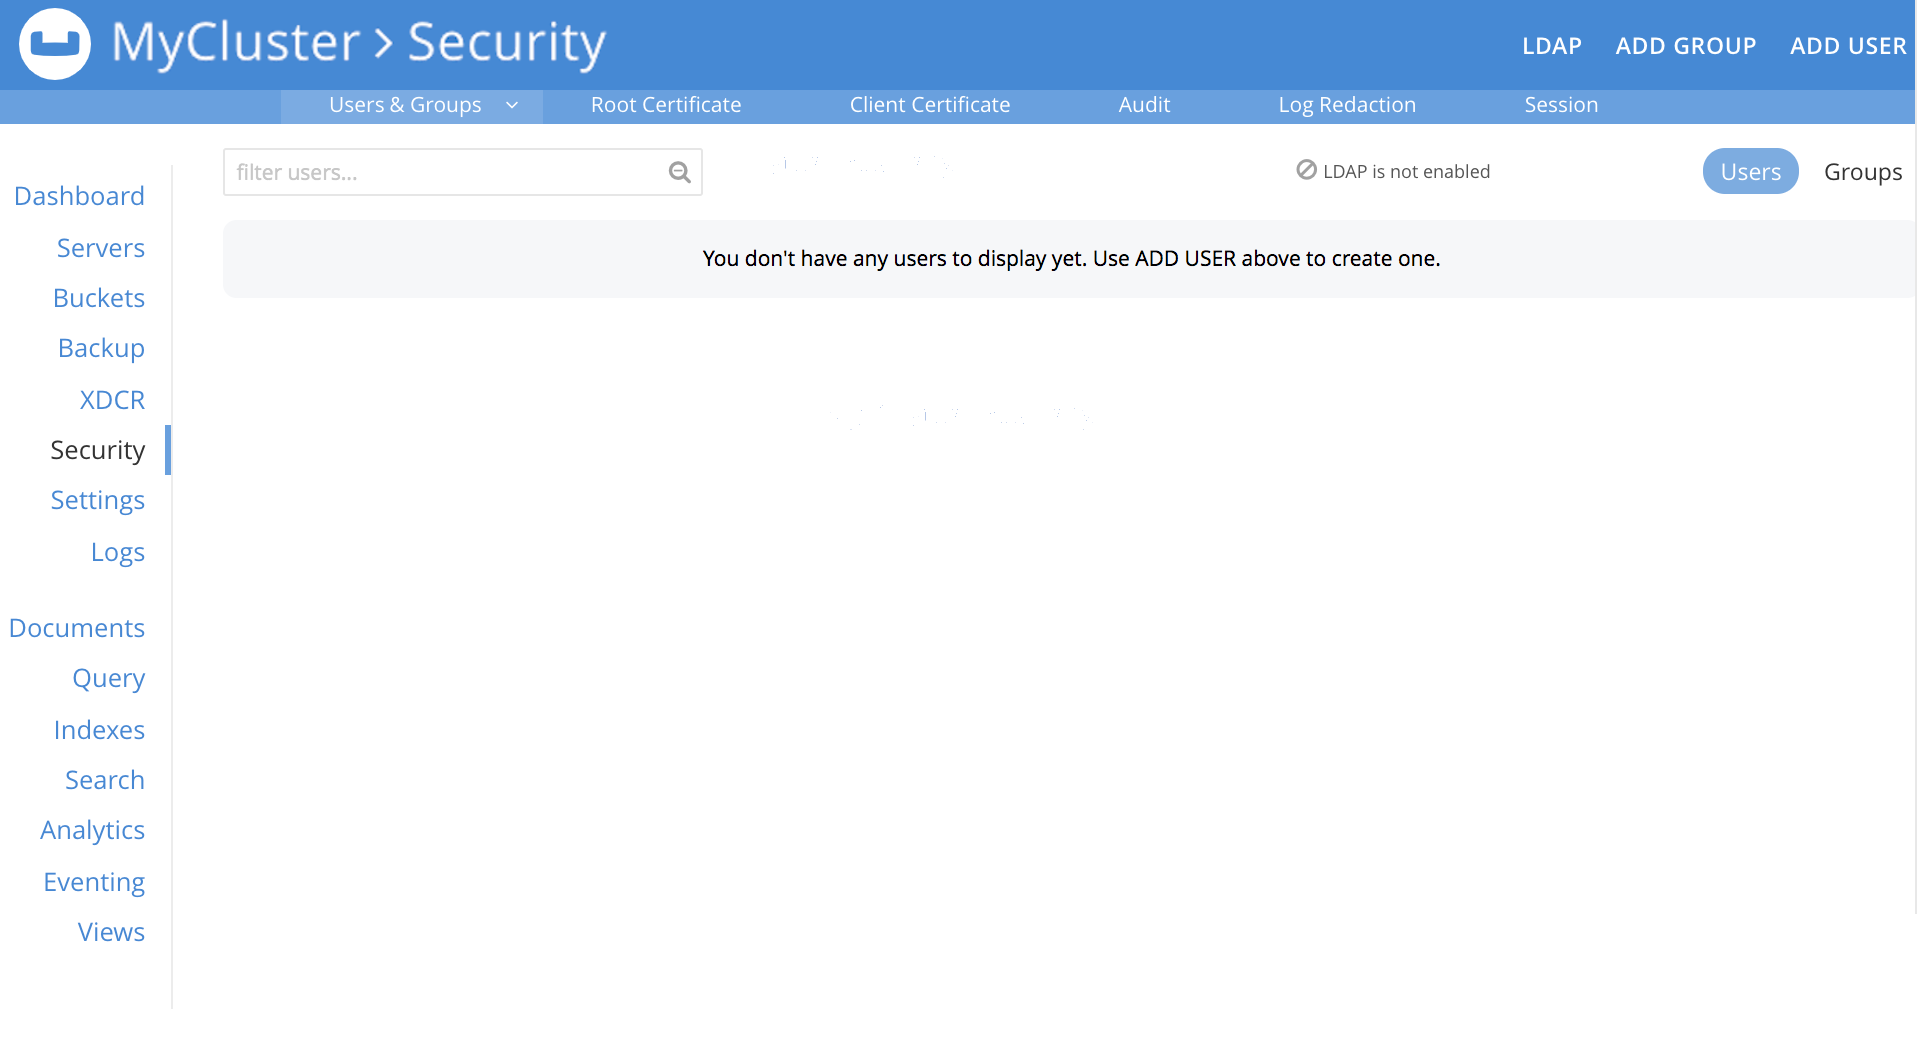
This brings up the Security screen, which appears as follows:

The initial, default view is for Users.
-
To manage client certificate handling, left-click on the Certificates tab, on the upper, horizontal control bar:

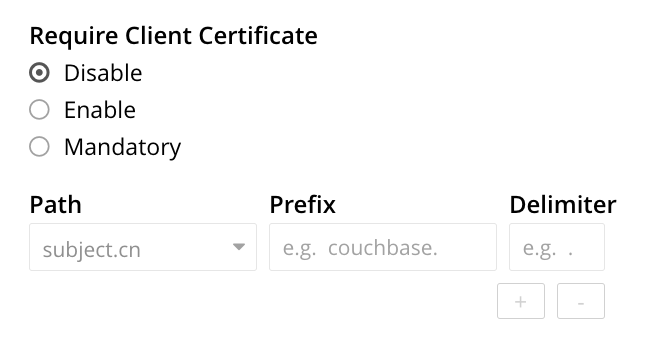
This displays the Certificates screen. On the right-hand side of the display, the options for client certificates are shown:

-
Specify whether certificates are enabled, and if so, whether manadatory. The Require Client Certificate panel provides three options, as radio buttons. These are:
-
Disable: Disables client certificate-based authentication. This is the default value.
-
Enable: Enables client certificate-based authentication. When enabled, if the client presents a certificate, Couchbase Server attempts to extract a username from the certificate, and then to authenticate based on the extracted username. If the client does not present a certificate, the certificate-based authentication-process is not triggered; and the client is expected to authenticate by some other means.
-
Mandatory: Specifies that all clients must present a certificate, in order to authenticate. No other form of client-authentication is handled over the secure connection. Note that imposing this level of security likely requires the additional measure of disabling non-secure console access: see Manage Console Access.
A current limitation is that client certificate authentication cannot be set to mandatory if node-to-node encryption is set to all. See Node-to-Node Encryption.
-
-
If Require Client Certificate has been set to either Enable or Mandatory, establish how the username within each client certificate is to be determined.
Each certificate is expected to provide a username as part of its content. Frequently, the username is specified as the certificate’s Subject Common Name; but it may also be expressed as a Subject Alternative Name.
These certificate-configuration options are described in detail in Specifying Usernames for Client-Certificate Authentication; and practical examples of their use are provided in Configure Client Certificates. The administrator who configures client-certificate handling on Couchbase Server is expected to anticipate what forms of username-specification are likely to occur in the certificates used by client applications, and to decide how they should be handled.
To enable Couchbase Server to identify the usernames embedded in client certificates, specify one or more appropriate combinations of Path, Prefix, and Delimiter. Add and delete rows as appropriate, by left-clicking on the + and - buttons. Note that the default option is subject.cn, which indicates that the Subject Common Name within the certificate will be considered a username.
For an explanation of Path, Prefix, and Delimiter values, see Specifying Usernames for Client-Certificate Authentication. Note that Prefix and Delimiter are optional; and their fields can therefore be left blank.
-
Left-click on the Save button, to save settings. Client certificates will now be handled in accordance with your specification.
Enable Client-Certificate Handling with the CLI
To use the Couchbase CLI to enable and configure client-certificate handling, use the ssl-manage command.
The value assigned to the --set-client-auth parameter of this command should be a JSON document that lists the enablement state and the path-prefix-delimiter combinations for client-certificate handling.
The document may appear as follows:
{
  "state": "enable",
  "prefixes": [
    {
      "path": "san.uri",
      "prefix": "www.",
      "delimiter": "."
    },
    {
      "path": "san.email",
      "prefix": "",
      "delimiter": "@"
    }
  ]
}
The value of state can be enable, disable, or mandatory.
See the definitions provided above.
Each of the elements specified in the prefixes array must be a tuple of three key-value pairs, whose respective keys are path, prefix, and delimiter.
Each tuple thus specifies an element in the client certificate that is to be extracted and used as a username for authentication:
-
path must be one of the following values: "subject.cn", "san.uri", "san.email", "san.dns".
-
prefix specifies the client certificate prefix value. If no prefix is to be used, the value must be specified as an empty string.
-
delimiters is a list of characters that can individually be treated as a delimiter. If no delimiter is to be used, the value must be specified as an empty string.
Note the following constraints when specifying multiple tuples:
-
A maximum of 10 {path, prefix, delimiters} tuples can be specified in the
prefixesarray. -
No two tuples can have the same
pathandprefixfields. -
All the fields in the tuple must be specified.
If the document is saved as a local file, the command can be executed as follows:
/opt/couchbase/bin/couchbase-cli ssl-manage -c 10.143.192.102 \
-u Administrator -p password \
--set-client-auth ./client-auth-settings.json
To check the results, use the same command with the --client-auth option:
/opt/couchbase/bin/couchbase-cli ssl-manage -c 10.143.192.102 \
-u Administrator -p password \
--client-auth
If successful, the command returns the following:
{
  "prefixes": [
    {
      "delimiter": ".",
      "path": "san.uri",
      "prefix": "www."
    },
    {
      "delimiter": "@",
      "path": "san.email",
      "prefix": ""
    }
  ],
  "state": "enable"
}
This confirms that the settings have been successfully updated.
Enable Client-Certificate Handling with the REST API
Couchbase Server client-certificate handling can be enabled with the REST API, using the POST /settings/clientCertAuth http method and URI.
The call requires creation of a JSON document that lists the enablement state and the path-prefix-delimiter combinations for client-certificate handling; as described above in Enable Client-Certificate Handling with the CLI.
Enter the following:
curl -v -X POST http://10.143.192.102:8091/settings/clientCertAuth \
--data-binary @client-auth-settings.json \
-u Administrator:password
If successful, the call returns a 200 OK message.
To check the resulting configuration, use the GET /settings/clientCertAuth http method and URI, as follows.
Note that this example is piped to the jq command, to optimize readability.
curl -u Administrator:password -v -X GET \
http://10.143.192.102:8091/settings/clientCertAuth \
-u Administrator:password | jq
If successful, the call returns the following:
{
  "state": "enable",
  "prefixes": [
    {
      "delimiter": ".",
      "path": "san.uri",
      "prefix": "www."
    },
    {
      "delimiter": "@",
      "path": "san.email",
      "prefix": ""
    }
  ]
}
This confirms that the settings have been successfully updated.
Client Certificates and Server Upgrade
On a cluster’s upgrade to the current version of Couchbase Server, the cluster will continue to return client-certificate authentication-settings in the format of the earlier version until the cluster is completely upgraded. Once the cluster has been upgraded, any existing client-certificate authentication-settings from earlier versions are automatically transformed into the new format.